MISTEL Barocco RGB Review
Testing
Again, the initial shock of learning to type again was quite large. I have been using a Ducky full-size keyboard for the past year and changing to the split design of the Barocco always feels a little bit weird.
That short re-learning period over and I have to say that it really is comfortable to type on. I quickly settled back on the 4-inch gap I had when I looked at the previous Barocco.
It is hard to have the Barocco too far apart, the coiled cable is quite strong and likes to return back to its original length this also makes angling the halves at 45 degree angles a bit awkward as well.
The build quality and fit of the keyboard has improved greatly since last year. The tolerances of the fit is a lot better although not perfect which makes putting the keyboard together a bit easier to look at.
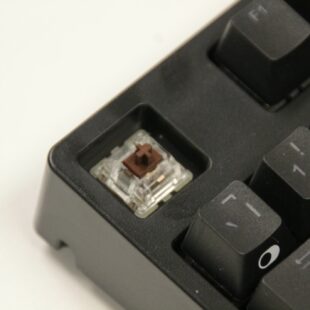
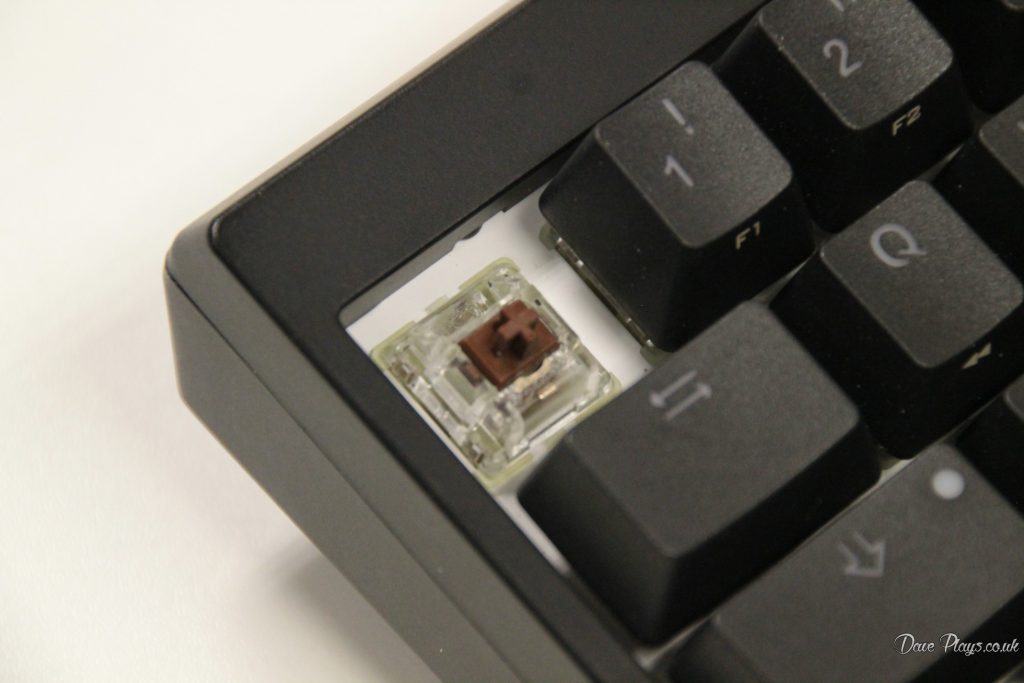
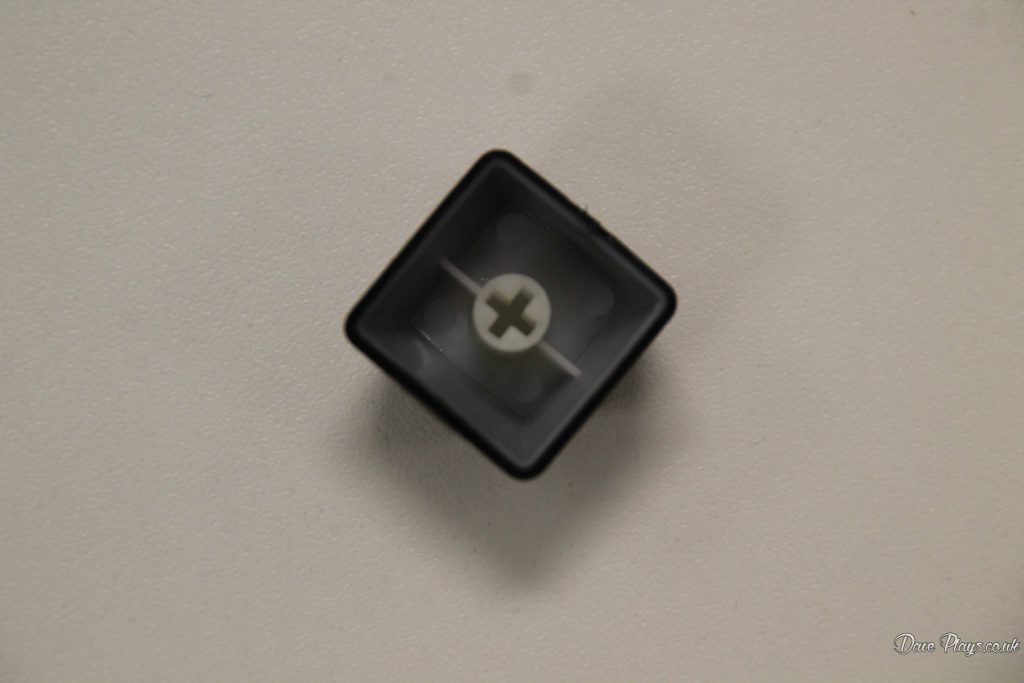
The keycaps are double shot PBT and feature a semi-transparent layer to allow the light to shine through. The only problem is the enter key has a different look and allows a bit of unintended light through which is a bit of a shame. Especially considering the tighter tolerances on the halves.
Because the underlying firmware is the same as the previous MISTEL Barocco, the steps to record macros are exactly the same I will copy the steps from the previous review here.
A full manual for the keyboard can be found at MISTEL’s site. Over Here
Macro recording is exceptionally easy. Simply pressing the Fn + Right CTRL whilst in a remappable layer, selecting the key you want to remap, then recording the key presses you want it to repeat. To end the macro recording you just need to press Pn and then Fn + Right CTRL once again. Your recorded macro will then take effect when you next press the key.
You can also change the keyboards layout through pressing the Fn + A key. You have the options of QWERTY, COLEMAK and DVORAK. And although changing the key caps is not necessary to use these layouts I wholeheartedly recommend it, unless of course you are used to the differences. Thankfully secondary functions of keys are not affected by changing the layout.
Each layout is displayed through the 1st LED on the bottom right with DVORAK being Blue, COLEMAK being green, and off being QWERTY.
Thankfully if you want to reset the keyboard back to default you can reset an individual layer by pressing and holding Fn+R for 10 seconds or reset the whole keyboard by pressing both alt keys for 3 seconds.
Lighting
The main difference between the older Barocco and this is the inclusion of many lighting modes on the Barocco RGB and as it would be hard for me to show some of them in pictures I have a shortish video showing just that which you can see below: